This guide will give you visual definitions for setting these values and lining everything up properly.
X and Y alignment #
Once the magazine is mounted to the machine bed, load a tool in the spindle. position the spindle in X and Y centered on pocket 1. Visually check the position and make sure the spindle rotates freely while in the pocket but not enough to engage with the socket. Turn the spindle on at 1200 RPM or so and listen to make certain the clamping nut is not rubbing the pass through in the cap. An easy way to find the center of the pocket is to nudge the spindle by .1mm or .004″ negative in X until it begins to rub then count the moves to rub on the other side moving X positive until contact and then split the difference. Repeat this process in Y and that will be pocket 1 position for X and Y.
Here is a video with a sound check to audibly help you line up the spindle. I am not using pocket 1 for this video but it will work this way and is a good quick way to line things up nice.
Z Engage Height #
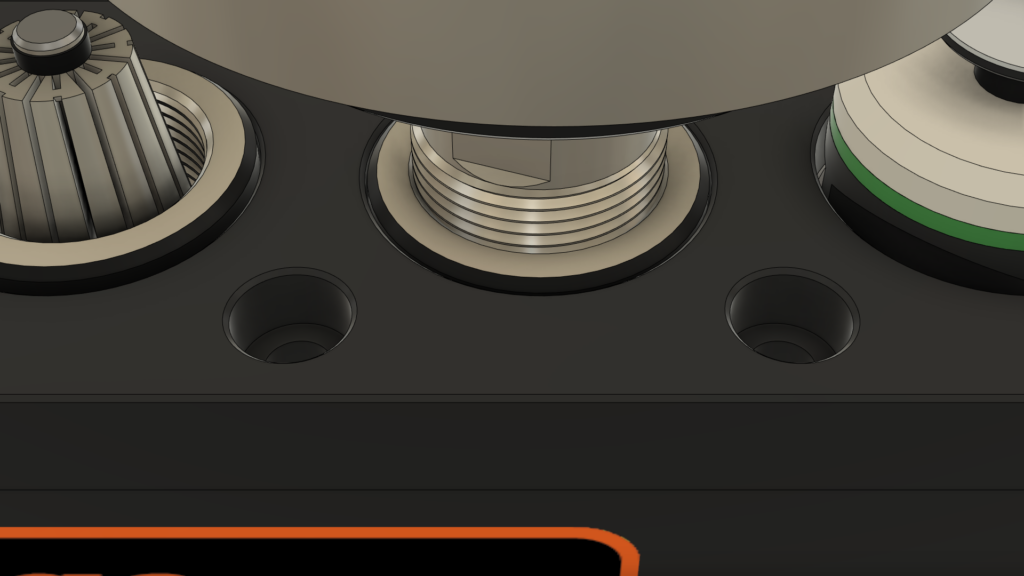
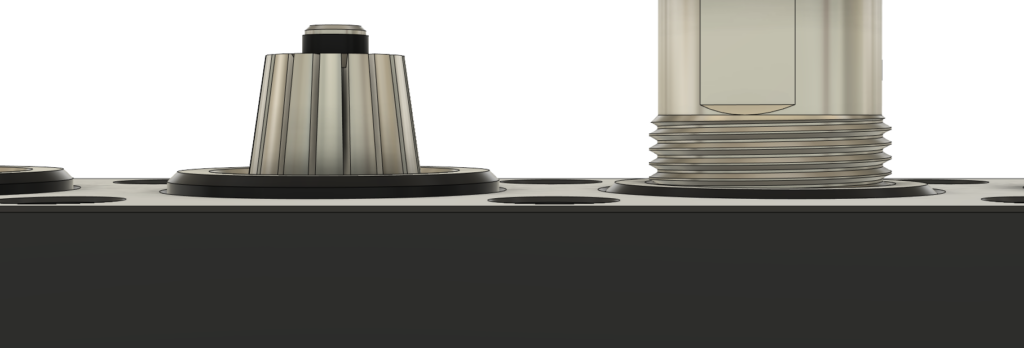
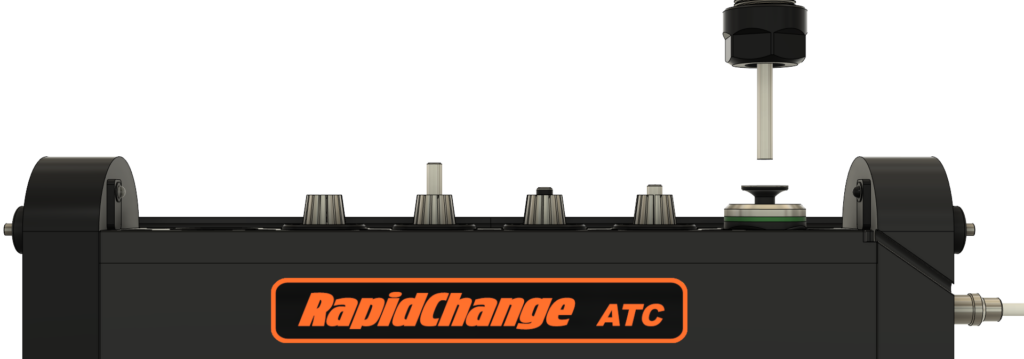
Place clamping nuts in the pockets and observe whether or not they are all at the same level. Notice that the center nut sits slightly higher than the one to the right.
(Also note the wire shrink tubing keeping the tool in the center pocket from sliding down through the spring collet. It is recommended to use collets that fit snug.)

If you are using nuts from different manufacturers use the nut that sits the highest in the pocket. Load that nut in the spindle with a spring collet and tool.
(It is vital that you have a tool, spring collet and clamping nut assembly in the spindle. NEVER run a tool change with a clamping nut that does not hold both a tool and spring collet).
Bring the spindle down into Pocket 1 to a position just below where it would sit freely.
Now lower the spindle another 0.5mm just to make sure the nut is seated all the way down in the socket. This will be your Z engage Height.
Z Move to Load #
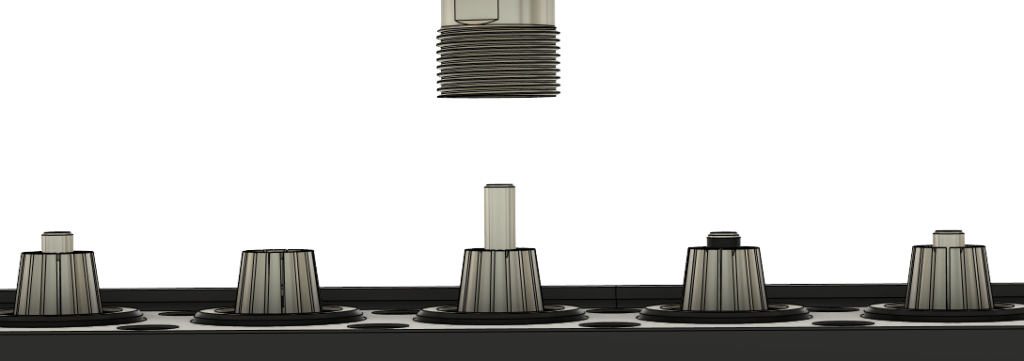
This position is the height at which the spindle will move over the magazine after unloading a tool and moving to the next one. Be sure to clear any tools that may be sticking up out of the collet. If not using tool recognition it is best practice to set this to the safe clearance height.
Z Move to probe or probe safe Z #
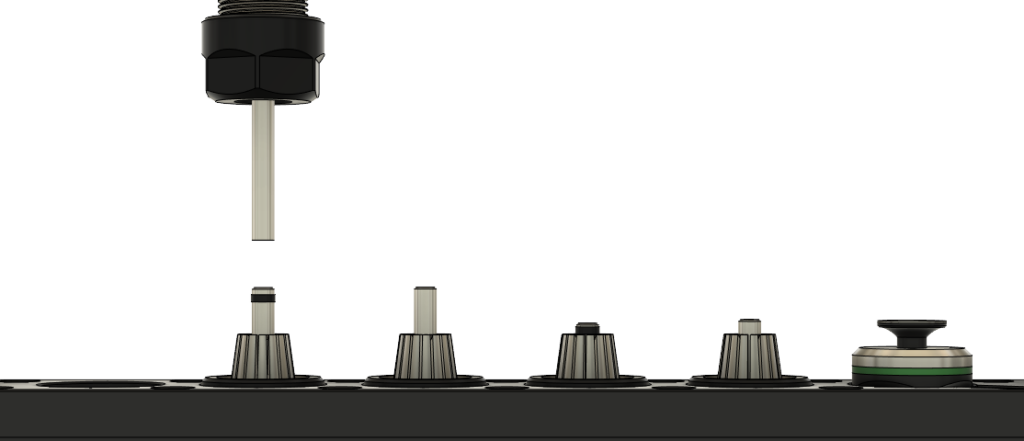
This position is the height at which the spindle will move over the magazine after loading a tool and moving over the tool setter. Select a tool with the longest stick out that you will use for establishing this position. Be sure that it will clear any tools that may be sticking up out of the collet while moving over them. If not using tool recognition it is best practice to set this to the safe clearance height.
Z Seek Start #
This position is the height at which the spindle will begin seeking the tool setter. Select a tool with the longest stick out that you will use for establishing this position.
Z Seek Retreat #
The distance that the spindle will back off after the first seek touch off and begin the move down to set the tool height at a slower speed. 2-5mm is a good number.
Probing feeds #
Z Seek will be the initial feed rate, 250mm/min is recommended.
Z Set will be the feed rate that actually records the TLO (tool length offset) 25-50mm is recommended.

Avoid Tools Slipping #
Tools may slip in the spring collet, while in the magazine and fall out. There are a couple ways of dealing with this issue. here is a video with a short explanation.
